I. Introduction
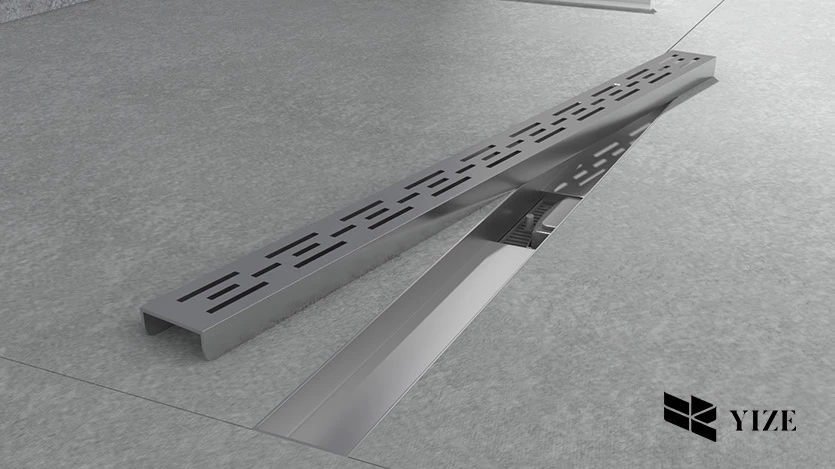
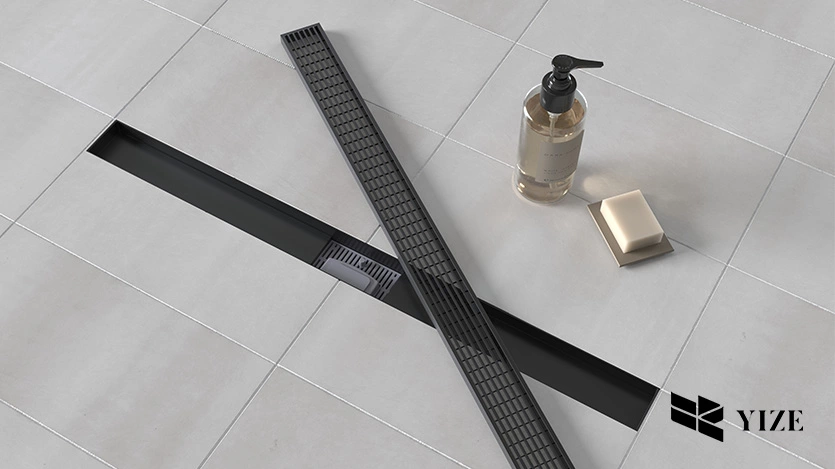
Linear shower grate is an innovative beautiful type of drainage that is commonly placed in the bathroom. It is a long rectangular shaped grill fixed on the floors of shower area to provide a good drainage system. Linear shower grates are the best because they are aesthetic and have good drainage especially in the walk in showers.
These grates come in standard stainless steel, ceramic and can be customized in order to fit a wide range of bathroom designs. In addition to increasing the aesthetics of the shower system, linear shower grates have functional benefits: they are operated in a way that will avoid formation of water puddles and guarantee an even water distribution.
However, in time these grates may need to be pulled out for cleaning, or for repairs and maintenance or even replacement. During removal proper handling is required in order non to cause harm to the grate and the neighboring tiles. This guide will therefore lead you through the process in a step by step and comprehensible manner.
II. Why You Might Need to Remove the Linear Shower Grate?
Linear shower grates can be removed for several reasons:
- Cleaning: When the hair, soap remnants and debris are allowed to build up, they may clog the grate. This does not happen because cleaning is carried out frequently.
- Maintenance: By checking the drain for possible problems, such as, leakage or rust, the drain is made to work efficiently.
- Replacement: If the grate is broken in any way, in need of a change or if it has simply rusted, it should be replaced to fit the aesthetic point of view as well as to function properly.
- Access to the Drain: Sometime, you have to open the bottom of drain for the repair of plumbing or if there is serious blockage that requires attention.
Correct get rid is essential in order not to harm the grate, tiles, or other waterproofing layers beneath. Sometimes, people try to expedite the process or apply the wrong tools — and then they have to pay for repairs.
III. Tools and Materials Needed
1. Essential Tools for Removing a Linear Shower Grate
To safely remove a linear shower grate, gather the following tools:
- Flathead screwdriver or prying tool: Helps lift the grate gently.
- Rubber mallet: Helpful in removing a grate that has been stuck in a particular position without having to force it therefore damaging itself.
- Pliers: Screw only: optional for grates with clips or with fasteners.
- Gloves: They should protect their hands from sharp edges or even dirt.
2. Optional Tools for Specific Grates
Some grates, such as those made of stainless steel or custom designs, might need additional tools:
- Allen wrench or hex key: This is needed when the grates are screwed unto the floor.
- Lubricant spray (e.g., WD-40): Used for loosening tightly held-up parts or those that are stuck due to rusting.
- Plastic scraper: Do not drag items that have rough bottoms across delicate surfaces such as ceramic grates would cause a scratch.
It has to be done right and having the right tools makes the process much easier and no harm is done.
IV. Step-by-Step Guide to Removing a Linear Shower Grate

Step 1: Prepare the Area
First wash the shower area to deal with soap scum and any other matter on the grate area. This results to clear visibility thus no dirt drops through the drain opening.
Step 2: Inspect the Grate and Identify the Fixing Mechanism
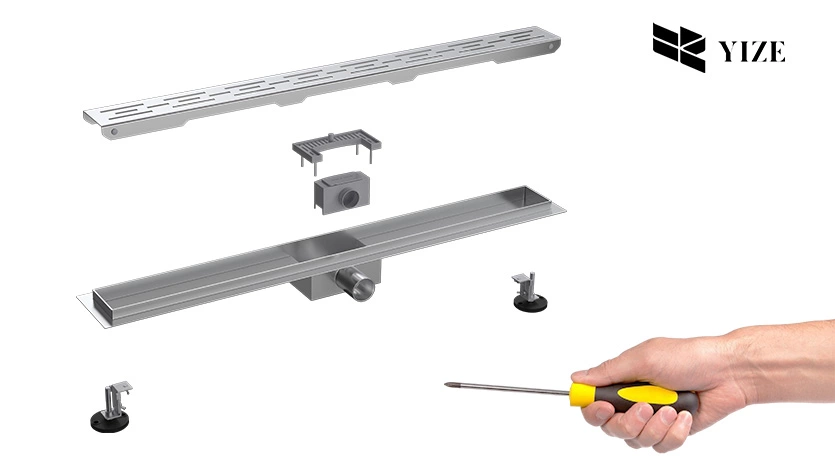
Find out how the grate is mounted. The grates are some that are usually fitted into a proper position while others require screws or clips. Knowing the kind of mechanism allows for identification of the best way to get rid of it.
Step 3: Disassemble Bolts and Nutrients (If Present)
If screws are holding the grate, unbolt it by using an ideal screwdriver or an Allen wrench. Store the screws for later reuse again They help to reinstate the tool back to its normal functional use. If clips are used, they should be gently removed with the help of pliers only.
Step 4: Gently Lift the Grate
In order to remove the grate take a flat head screwdriver or pry bar and gently try to pull the grate from one corner. If it does not budge call for a rubber mallet and gently strike the edge until it pops open. This is because using undue force can cause damage to either the tiles or the grate on the floor.
Step 5: Clean and Inspect the Drain Area
Whenever the grate is pulled out, the area on the drain should be cleaned also. It involves cleaning the drain, looking for blockage and checking for corrosion or crack. Cleaning the edges surrounding the area help to create a good seal when reinstalling or replacing the grate.
V. How to Remove a Stuck Linear Shower Grate
1. Dealing with Stubborn or Rusted Grates
Fixed grates as a rule are observed frequently in older installations because of rust or soaubby deposits. Spray and apply some sort of lubrication along the edges and wait for approximately 10-15 minutes. To remove it, one has to gently apply the rubber mallet on the tube.
2. Using Specialized Tools for Hard-to-Remove Grates
Incase the grates are extremely trapped, use a suction cup or LAT to lift the grate without scratching the adjacent tiles. Don’t be too rough; tiles can become cracked and the grate bent.
VI. Replacing or Installing a New Linear Shower Grate
1. When to Replace Your Linear Shower Grate?
Grates also need to be replaced if they are rusted, damaged in some way or if you decide to change the grates to a more contemporary style. Ensure that the grate chosen corresponds to the shower style and its overall dimensions.
2. Choosing a Replacement Grate
Choose heavy-duty grates that are sourced from reputable firms such as YZDRAIN that sells various kinds of stainless steel and different custom made grates. It also so cheap if buying in bulk so those searching for wholesale options are sorted.
3. Installing a New Grate
- Prepare the Area: Add that it is necessary to carry out cleaning and drying of the drain area.
- Position the Grate: Make sure it fits properly in place, with the hole of the drain.
- Secure the Grate: In case of the screw-in models, simply screw the nails gently. In the case of drop-in models, compact the grate into place with the top of the grate.
- Test for Fit: One must pour water to ensure that water drains well and seals the walls the right way if it has been done.
VII. Common Issues When Removing or Installing a Linear Shower Grate

1. Troubleshooting Removal Problems
- Bolts or clips may rust and hence may need the use of grease or may need to be replaced.
- Do not scratched tiles or PPP as much as possible to ensure waterproofing is intact.
2. Avoiding Damage During Removal and Installation
Use minimal force for operating tools and utensils. In greatly sensitive areas, where prying tools have to be applied, use protective padding.
VIII. How to Extend the Life of Your Shower Drain Grate
Why Regular Removal and Cleaning Are Important?
Daily cleaning helps to avoid accumulation of dirt, that can clog the system and result in smells. It also assists in such a way that one is in a position to discover a problem like rust or crack before it manifests.
Maintenance Tips
- Clean the grate of the heater through removal monthly to enhance easy cleaning.
- Choose gentle cleaning agents in order not to harm the grate material in any way.
- Clean and polish and give a quick look at areas that are mostly exposed to rust or wear and fix any problems at once.
IX. Why Choose YZDRAIN?
It is essential to find a trusted linear shower grates manufacturer and have confidence that you are buying the best indoor drainage solutions. YZDRAIN’s stainless steel linear shower grates utilization are long lasting, fashionable and competitively priced. They are fashionable, with the added benefit of being tailored to fit current bathroom needs; form and function.
X. Conclusion
How to remove a linear shower grate at first glance may look like an almost impossible task but in fact it is very easy provided that you follow the procedure outlined below. Maintenance and cleansing play a significant role in the way that drains work and how long grate is going to last you. In this case, nothing can be as satisfying as sourcing for fittings from reputable makers like YZDRAIN to guarantee the consumer quality and scrumptious grates to serve their purpose.
If proper measures are taken concerning your shower drainage system you can ensure that your bathroom remains clean, efficient and aesthetically pleasing for years.
Frequently Asked Questions (FAQs)
Q1: How often should I clean my linear shower grate?
You should clean your linear shower grate at least once a month, but may need to clean it more frequently depending on how often you use the shower and how much hair or debris accumulates; some recommend wiping it down with a soft cloth 1-2 times per week to maintain cleanliness.
Q2: Can I get a stuck grate off using any lubricant?
Yes, but be sure it does not damage the surrounding tiles and is safe for use on the grate material.
Q3: Where might I get premium replacement grates?
For a large selection of reasonably priced, robust and fashionable linear shower grates, visit YZDRAIN.
Q4: How do I keep my linear shower drain from clogging with hair?
To prevent your linear shower drain from clogging with hair, the most effective method is to regularly use a drain cover or hair catcher designed for linear drains, combined with brushing your hair thoroughly before showering to remove loose strands; you should also clean the drain cover after each use and periodically flush the drain with hot water to clear any remaining debris.

