I. Introduction
Wall-to-wall linear shower drain installation is a great way to make your shower look more modern and sleek while also making it run better. This kind of installation lets water flow smoothly, making the solution more efficient and nice to look at. The YZDRAIN linear shower drain system is the best choice for your indoor shower renovation job because it is high-quality, long-lasting, and works well.
II. What Is Wall-To-Wall?
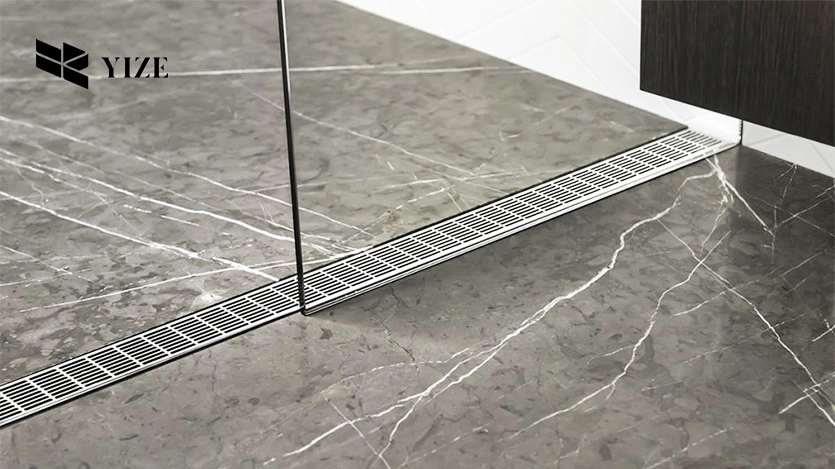
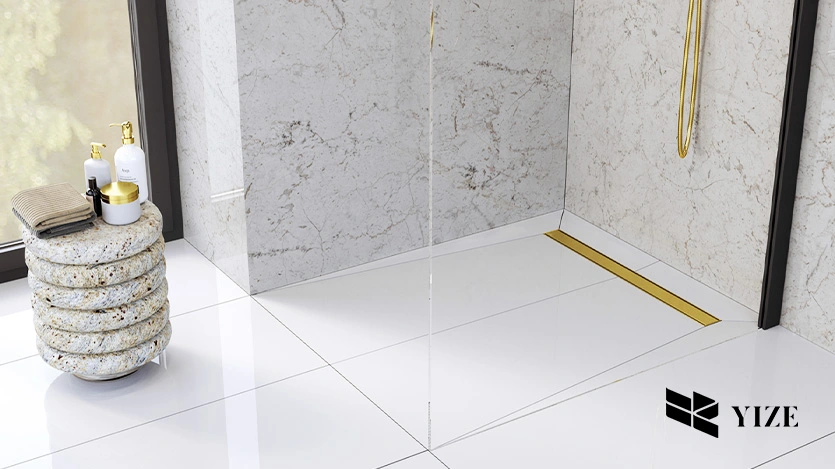
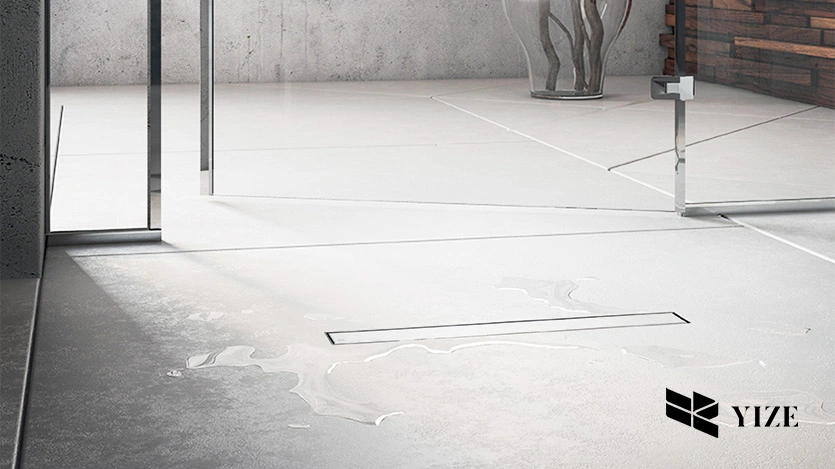
From one end of the bathroom to the other, a wall-to-wall linear drain spans the whole width of the room. Wall-to-wall drains are different from traditional center drains, which are usually in the middle of the shower floor. They sit straight along one edge, making the design look clean and simple. Most of the time, these drains are put at the back or front of the shower to make the floor room and water management better.
Wall-to-wall drains, like the ones YZDRAIN sells, can handle more water flow and give you more design options for your bathroom. They work especially well in showers with big tiles because they keep the floor from sliding and spread the water evenly.
III. How to Install: Step-By-Step Instructions
Step 1: Gather Materials and Tools
Before starting, make sure you have all the necessary tools and materials. For this installation, you will need:
●YZDRAIN is a wall to wall linear drain.
●Shower waterproofing membrane
●PVC or ABS drainpipe
●Mortar or thin-set for tiling
●Universal trowel, measuring tape and spirit level
●Tile space and water proofing grout
●Abstract hand tools (screwdriver, pliers and etc).
Step 2: Prepare the Shower Area
First, get the area around the shower where the drain will go ready. Take out any drains or floors that are already there, and make sure the subfloor is dry and clean. If needed, move the subfloor so that there is a small drop (about 1/4 inch per foot) toward the drain. This is very important to make sure the water flows right.
Step 3: Install the Waterproofing Membrane
Put the waterproofing material on top of the subfloor and up the walls of the shower. This will make a shield that won’t let water through, stopping any leaks. Make sure that the membrane goes all the way to the edges, where the wall-to-wall drain will go. Carefully cut a hole in the material for the drain once it is in place.
Step 4: Position the YZDRAIN Linear Drain
Along the wall of the bathroom, put the YZDRAIN linear drain where you want it. The drain should be level with the floor and flush with the wall. Make sure the drain is straight by using a level. If changes need to be made, raise or lower the drain legs.
Step 5: Connect the Drainpipe
Link the YZDRAIN to the drainpipe in the shower. Depending on your wiring, this is usually done with an ABS or PVC pipe connection. To stop any leaks, make sure the link is safe. At this point, run a little water through the pipe to test the drainage system.
Step 6: Install the Mortar or Thin-Set
Put a layer of mortar or thin-set over the flooring after the drain is in place. This is what the shower tiles will go on top of. With a notched trowel, spread the mortar out evenly and make sure it slopes slightly toward the YZDRAIN drain.
Step 7: Lay the Tiles
Start putting down your shower tiles on top of the mortar. Work your way toward the drain from the farthest side. Tile spacers will help you keep the gaps between tiles even. Make sure that each tile is firmly pressed into the mortar so that they don’t move. If you have a wall-to-wall straight drain, you should use bigger tiles for the best results. These help make the hill more even and cut down on the number of cuts that need to be made.
Step 8: Grout the Tiles
After the mortar has dried and the tiles are in place, put waterproof glue between them. To keep water from getting in, make sure to fill in all the holes. Use a wet sponge to get rid of any extra grout.
Step 9: Install the Grate
Last, put the YZDRAIN grate on top of the straight drain. For a smooth finish, the grate should be level with the tiles around it. Before you test the shower, make sure the grate is in the right place and locked in place.
IV. What are the Benefits of a Wall-to-Wall Installation?

A wall-to-wall straight drain is a good choice for your shower for a number of reasons:
●Aesthetic Appeal: Bench drains provide a seamless washbasin arrangement by doing away with a central drain channel hence a modern look.
●Better Water Management: A specificity of a linear drain is its ability to seamlessly flow water in one direction and minimize instances of puddles with the help of the wall.
●Increased Shower Space: Due to the fact that the drain is installed between the wall and the shower, one is free to use bigger tiles, and design more floor area, without the need to have a steep pitch to, or across, a central drain.
●Easy Maintenance: Wall-to-wall drains are more manageable and hygienically challenging than standard drains since no debris may accumulate on them.
V. How to Achieve a Perfect Wall-to-Wall Linear Shower Drain Installation with YZDRAIN Drain?

To achieve a perfect wall-to-wall installation with YZDRAIN, it’s important to follow these key tips:
●Plan the Layout Carefully: It is essential to determine in advance where you want your tiles to be, which area should be for drains, etc. This will enable you not to cut tiles because of pipe placing while at the same time helping you to calculate the right water flow to take.
●Use High-Quality Waterproofing Materials: Here, work is done properly and only high quality materials are used because shower must not leak and last as long as possible. Choose the best type of the waterproofing membrane and properly install it.
●Ensure Correct Slope: It is expected that the gradient of the shower floor should be designed in such a way that water drains to the YZDRAIN drain without forming pools or backward flow. Be sure to confirm your slope measurements in the real installation process.
●Choose Compatible Tile Sizes: Linear drains have a more gradual and slope and gave a far better performance when used with large tiles. It is recommendable not to use small mosaic tiles on this surface since they provide an irregular surface that affects drainage.
VI. Conclusion
Wall-to-wall linear shower drain installation like YZDRAIN is a stylish and useful way to update your shower. You can get a perfect installation that makes your bathroom look better and work better if you follow the step-by-step steps and pay attention to important details like slope and waterproofing. Because it is well-made, YZDRAIN lasts a long time and doesn’t need much upkeep, it is the best choice for indoor bathroom drain systems.
Frequently Asked Questions (FAQs)
1. Can I install a YZDRAIN linear drain in an existing shower?
Yes, but the flooring and waterproofing system might need to be changed to make room for the new drain.
2. Do I need a professional to install the YZDRAIN drain?
You can do the installation yourself, but getting a professional will make sure that the waterproofing and slope measurements are correct.
3. How do I maintain a YZDRAIN drain?
Regularly cleaning the grate will keep it from getting clogged. The drain is designed so that it doesn’t need much upkeep.
