I. Introduction
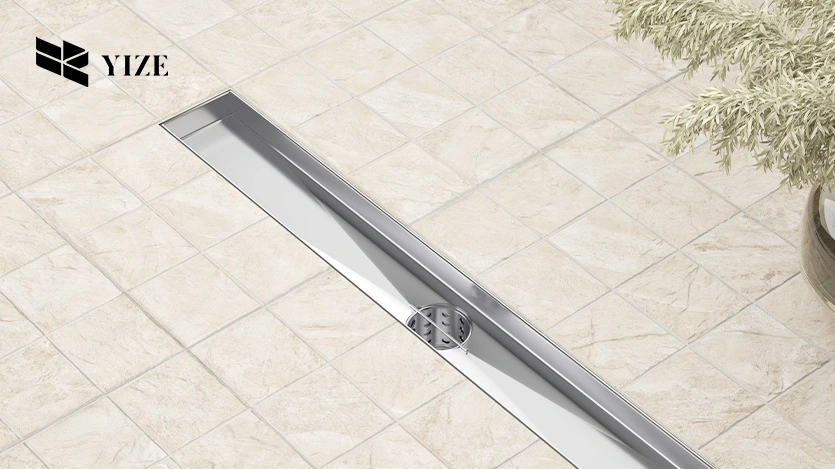
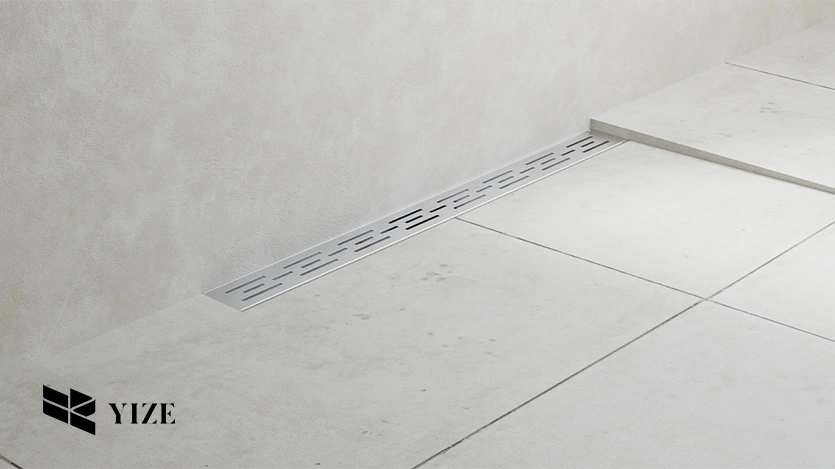
A Compotite linear drain is brand new and is intended solely to drain indoor showers and wet zones while serving as eye candy. In contrast to common center drains, linear drains are arranged at the edge of the floor so that water can be more easily channeled to a drain. This sort of drain is standard in bathrooms, showers, and other zones that require credible discretional water management.
Here, we provide step-by-step instructions for installing a Compotite linear drain and help you improve your interior space.
II. What Are Compotite Linear Drains?

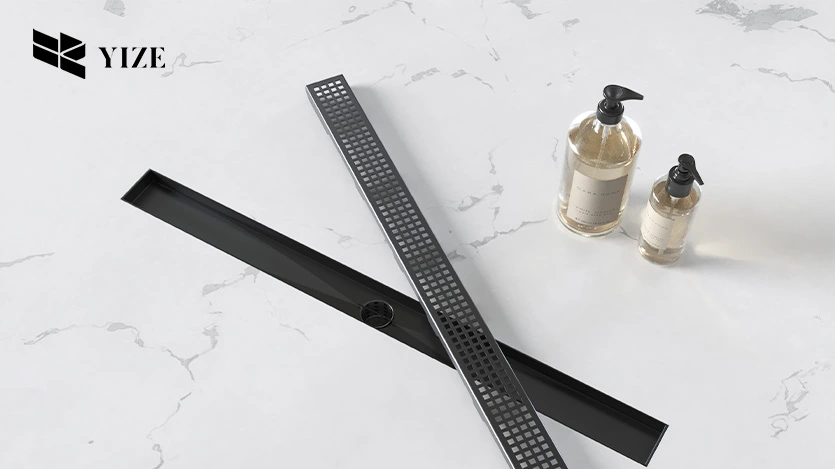
Compotite linear drains are long and narrow drains that should be installed along the side of a shower or bath floor. Because of their linearity, they are wonderful for large-format tiles since they can only offer a single-directional incline. These drains are made from quality materials, including stainless steel, which does not rust, and they are made appropriately for durability.
Compotite’s two primary types of linear drains are made to withstand the test of time, are waterproof, and are very easy to maintain. Most of the linear drains have easily removable grates, and some include integral hair traps to ensure that they do not block.
This makes Compotite linear drains more advantageous compared to traditional drains. Let’s look at them one by one. This type of door and window is more flexible in design compared with the traditional type, particularly when it comes to transitioning floor levels. It provides an aesthetic and professional appearance. Linear drains also improve water drainage performance, thus reducing the probability of water pooling.
III. Preparation for Installation
At least it is required to collect some sets of tools and materials before the installation begins. For a Compotite linear drain installation, you will need:
●Compotite linear drain kit that includes drain channel and grate
●Measuring tape
●Pencil or marker
●Saw (to cut the floor)
●Screwdriver
●Waterproof membrane or waterproofing kit These are the best solutions if you’re considering a sophisticated and complex approach to your roof covering.
●Trowel for adhesive
●Tile adhesive
●Tiles
●Sealant
The next step is measuring and planning the placement of the drain. Make sure that the drain lies at the bottom end of the floor to allow an easy flow of water right into it. It is also necessary to take a closer look at the readiness of the subfloor: It is supposed to be flat and free from debris. That means the subfloor beneath it should be raised to the right level to ensure the water does not stagnate around the drain.
IV. Step-by-Step Compotite Linear Drain Installation Guide
Step 1: Marking the Area for the Drain
To begin fixing a linear drain, you should estimate the size of the area where this product will be installed. For more visibility use a pencil or marker to draw around the area of the location. Ensure that the position of the holder matches your overall bathroom design and the same applies to the tiles. It is very important in this process because it enables a good and proper installation to be done.
Step 2: Cutting the Floor for the Drain Channel
After that, draw lines around the area you want for the drain, then use a saw to cut the floor along the dimensions of the drain. It is recommended that you take some precautions when cutting the plywood to prevent harm to the subfloor. The channel should be deep enough to provide clear space for the drain to lie flat on the floor after laying the tile.
Step 3: Installing the Drain Channel and Grate
When constructing the floor channel, be sure to insert the Compotite linear drain into the channel that has been made as illustrated above. Place and position the drain in the right angle or flat position during the laying down of the drain. Fix the drain by using screws which are included in the installation package. Once the channel is secured, the grate should be fitted securely on the top of the channel. Design for the grate with the possibility of easy removal in future so that it can be cleaned easily.
Step 4: Waterproofing Around the Drain
That means waterproofing is one of the most important stages in the installation process. The material must then be applied to form a channel around the drain and the draining floor. This will ensure water does not seep under the tiles or on the subfloor. The membrane should also conform tightly to the substrate surface, with no open spaces or voids present, to create a smooth external surface.
Step 5: Laying the Tile or Flooring Around the Drain
First things first and once the drain and the waterproofing are done, you can now start the tiling. First of all apply some tile adhesive to fix tiles to the floor and make sure they are installed with a certain inclination towards the drain. This means that water drains directly through the linear drain, and does not pool on the floor.
Step 6: Sealing and Finishing the Installation
After the tiles are laid down and the tiles have.shrunk, apply a sealant around the perimeter of the drain also at places where tiles meet at corners. This process assists in offering a tight barrier which prevents seepage of moisture onto the subfloor. Once the sealant has dried up, your installation is finished and ready for use the drain.
V. Tips for Successful Linear Drain Installation

●Ensure Proper Slope: The floor should have a small pitch to ensure that water runs into the linear drain. The recommended application and installation have a minimum slope of 1/4 inch per foot.
●Choose the Right Size: Compotite linear drains come in different dimensions. When choosing a drain length, ensure that it perfectly fits the width of the shower or intended wet area.
●Use Correct Adhesives: When you are leveling the tiles and waterproofing you ought to ensure that you use adhesive and sealants that are resistant to water.
●Test for Leaks: Before finishing the installation process, always go ahead and fill the drain up with water, and look at the sides if there is any sign of leakage.
VI. Where to Buy Compotite Linear Drains in 2024
●If you’re looking to purchase a Compotite linear drain, several retailers offer them online and in-store:
●Online Retailers: YZDRAIN is a reliable brand. The company has better equipment and offers quality products. Their drains are produced with an emphasis on quality and longevity, so you can trust that any of their products will be a good investment if installed.
●Local Hardware Stores: It is common to find Compotite linear drains in most home improvement stores and centers. Nevertheless, it must always be easier to consult the availability of your local store.
●Authorized Dealers: The bottom of the Compotite homepage contains a list of official dealers where you can buy genuine products.
To avoid the risk of buying counterfeit or poor-quality products, use the right channels when purchasing.
VII. Why Choose YZDRAIN?
YZDRAIN presents professional and advanced linear drains to satisfy the expectations of homeowners and contractors. Based on advanced process technology and hard-wearing material, YZDRAIN products are ideal for use on wet surfaces. They are easy to install with no complicated structural requirements, and customers have agreeably noted their longevity and efficiency.
VIII. Conclusion
When installing a Compotite linear drain, you will see how the drainage system can enhance the functionality and appearance of the bathroom or shower. This way you will make sure that you get a leak-free installation if you pay attention to the steps I have outlined above. The linear design is perfect for your next renovation project because YZDRAIN’s linear drains are durable, extremely easy to install and provide a distinctly stylish look to any bathroom.
Frequently Asked Questions (FAQs)
1. How do I maintain a linear drain?
Often, the drain grate should be cleaned together with the drain channel and examined for any materials that have accumulated within it to avoid blockage.
2. Can I install a linear drain in an existing shower?
Yes, but this may require extra floor changes and changes in the waterproofing of the area where the new drain is to be installed.
3. What size linear drain should I choose?
The drain size must correspond with the width of your shower or wet zone so that the water can drain off properly.
