I. Introduction
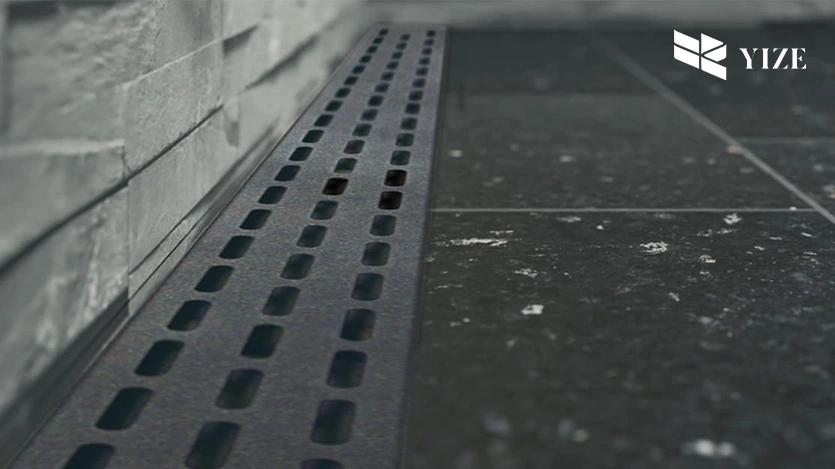
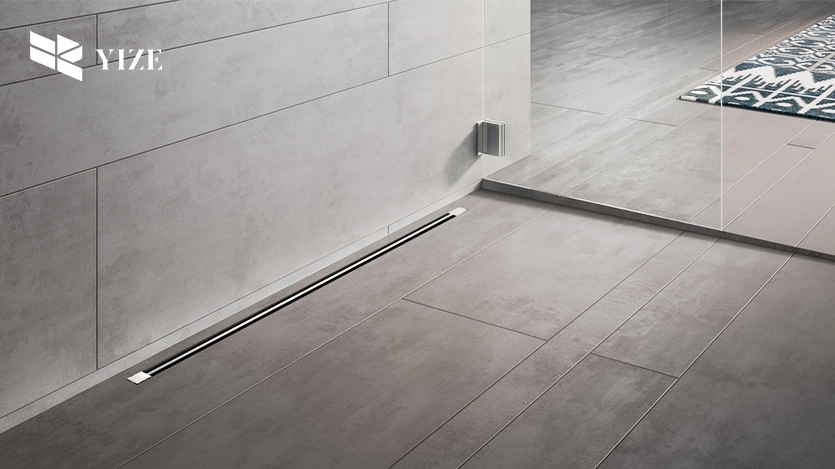
Setting a shower gradual drain in a concrete area calls for careful design and execution. Usually known as a linear drain, a gradual drain guarantees effective water flow, preventing pooling and preserving a dry, safe bathroom environment. This guide walks through step-by-step the best techniques to install a shower gradual drain on a concrete floor.
II. Can I Put a Shower Drain in a Concrete Floor?
Definitely, you can have a shower drain on a concrete floor. It is mainly preferred for indoor bathrooms because concrete is a strong and all-round material. But this is a process and a mammoth one that needs accurate preparation and appropriate tools. To introduce or alter the plumbing for the drain within a concrete structure might require some significant sawing or cutting, which, though feasible, might be time-consuming.
The key steps include:
- Planning the Drain Placement: Choose the shower drain location.
- Cutting the Concrete: To make room for the drain and plumbing, utilizing a concrete saw.
- Installing the Drain and Plumbing: Put the drain in the appropriate place, fix it, and align it to the other parts of the drain.
- Re-pouring Concrete: Pour more of the material into that area of the bath for its stability around the drain hole.
III. Where is the Best Place to Put a Linear Drain in a Shower?
The design of placing the linear drain primarily depends on the architecture and the slope of the floor of the bathroom. Common placements include:
- At the Shower Entrance: Specifically beneficial in designing a barrier-free entry, particularly in showers without thresholds.
- Along the Wall: This is effectively located and properly placed to guide water to drain out from the middle of the shower.
- Center of the Shower Floor: The hydraulic pitch is possible for basic installations; nonetheless, it is less typical for linear drains.
To determine the best location, consider the following:
- Floor Slope: There should be a gradient on the floor to provide a route for water to flow to the drain point.
- Aesthetic Preferences: Corrosion-resistant wall-mounted drains are concealed, and entrance drains add luxury in modern styling.
- Ease of Access: This area must be easily accessible in order to allow you to clean it frequently and with little problem.
IV. Step-by-Step Guide to Install a Shower Gradual Drain

Follow these steps to install a shower gradual drain in a concrete floor:
1. Prepare the Area
Before beginning, gather the necessary tools and materials, such as:
- Concrete saw
- Measuring tape
- Drain kit
- Plumbing pipes and connectors
- Concrete mix
- Trowel
- Waterproofing membrane
Shut off the water and place a tag on the drain location.
2. Cut the Concrete
- Using a concrete saw, carefully cut the marked area to create a trench for the drain and plumbing. Make sure the cuts are precise to avoid damaging surrounding concrete.
- Cut the section using a chisel and hammer, and then remove it.
- Prepare the trench to avoid the hindrance of debris during the installation process.
3. Install the Plumbing
- Place the drain where it is preferred and install it to the existing plumbing system.
- Make sure the drain is straight as the floor of the shower and that it is set on a right gradient.
- Screw a drain of PVC pipes and connections to the existing wastewater pipe and connect them properly.
- Before that, one must check the connection for leaks.
4. Apply Waterproofing
- Add a layer of waterproofing on the shower floor and let it extend up the walls of the shower. It avoids situations whereby water gets into the concrete and leads to more harm or corrosion.
- Finally, there must be tight seals around the drain in order to guarantee that the membrane will not leak.
- The next step should not be started before the waterproofing has dried up thoroughly.
5. Re-pour the Concrete
- Follow the manufacturer’s guide to mixing concrete and then pour it over the trench beside the drain.
- It’s preferred to use a trowel to level the surface and ensure that the floor has a gradient to the drain.
- This may take 24-48 hours for the concrete to set and reach its curing point, in this stage, do not add any water to the concrete mixture.
6. Install the Shower Floor
- When the concrete is hard, apply a tile or any other waterproof material on the floor of the shower. The end joint should run in the same exact direction on the tiles as the drain so that it blends well with the floor.
- Spread thin-set mortar on the substrate for installation of tiles to the surface without slippage.
- Fix the tiles and make sure that the joint has been finished off with a sealant that cannot allow moisture to pass through it.
V. Tips for a Successful Installation

To ensure the shower gradual drain functions effectively and lasts long, consider the following tips during and after installation:
- Plan the Slope: It is recommended that the shower floor SLAPS away from the primary shower wall at least ¼ per foot.
- Use Quality Materials: Select long-wearing and corrosion-proof for the drains and pipes.
- Double-Check Measurements: In this case, the measurements will help to avoid additional changes where the material may be squandered.
- Test the System: Before compaction of the floor, turn on the faucet to check whether the water is flowing well within the drain line and inspect for the existence or otherwise of leaks.
VI. Conclusion
Blending the gradual shower drain with concrete is a simple process, provided you have taken your time and adequately prepared the tools you will require as you work on the concrete floor. If done in a proper way with the correct slope and quality materials, you can design an effective drainage system and it would also look good. If you are unsure about any part of the process it is always recommended that you seek an expert’s help to help you get the job done right.
Frequently Asked Questions (FAQs)
Q1: Is a waterproofing membrane necessary?
Indeed, waterproofing is indispensable to stop water damage to the concrete and nearby buildings.
Q2: Could I personally install a linear drain?
Although it is feasible, installing a linear drain calls for advanced plumbing and concrete working knowledge. The best results call for hiring a professional.
Q3: How might I keep a linear drain?
To maintain effective water flow and avoid clogs, routinely clean the drain cover and clear trash from the drain channel.
Q4: Can I put a shower drain in concrete floor?
Yes, you can install a shower drain in a concrete floor. You can cut into the concrete slab to lay the plumbing and connect it to the sewer.
How do you install a shower tray on a concrete floor?
Clean and level the surface to install a shower tray on a concrete floor. Apply adhesive or mortar, then position the tray, ensuring it’s level. Secure it with screws (optional), and seal the edges with silicone. Allow curing for 24–48 hours before use to ensure proper adhesion and waterproofing.
