I. Introduction
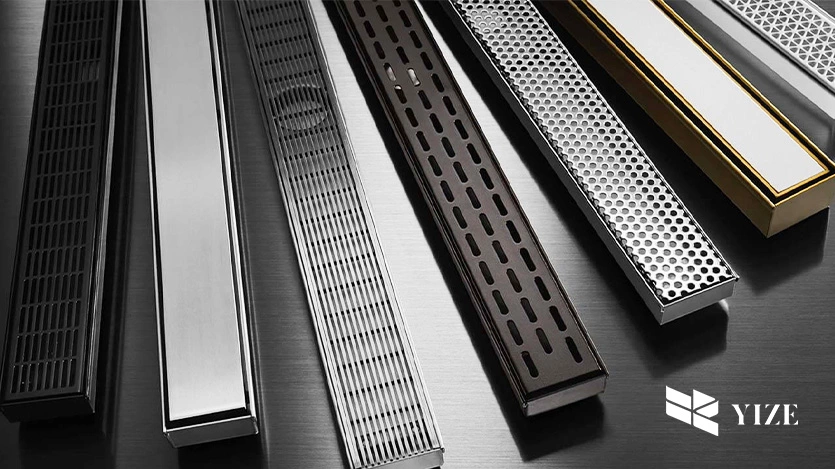
In recent bathroom designs, shower drains become famous for their trendy look and efficient drainage level. Unlike traditional drains, which are centered and lineal smoother, the curved shape of our linear shower drains the water in a long, narrow fashion, perfect for walk-in showers. Adding an offset outlet is even more flexible, especially if the plumbing connections don’t align with the shower floor’s center. In this guide, we will look closer at a linear shower drain with offset outlet, going through each installation step to ensure it’s smooth and reliable.
II. Understanding Linear Shower Drains with Offset Outlets
1. What is a Linear Shower Drain with an Offset Outlet?
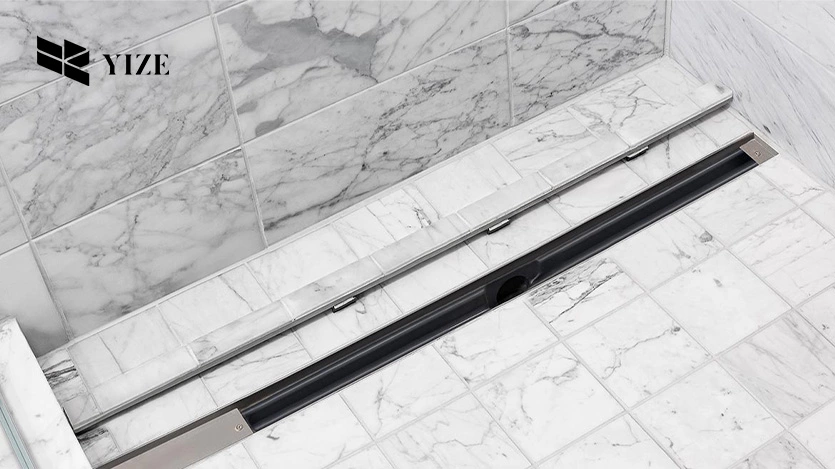
A linear shower drain is a shower drain aquarium that is taken out linearly, for example, using one edge of the shower collateral drawn that leads to the direction of the water. It makes for better water flow and is easier to clean. An offset outlet allows a drain to be positioned where regular drains wouldn’t fit so quickly, even if the drain’s exit, the point where it connects to the plumbing, isn’t centrally located. It’s flexible, simplifies installation, and allows for more creativity in shower floor layouts.
2. Using Linear Drains with Offset Outlets is Beneficial
Linear drains with offset outlets offer several benefits:
- Installation Flexibility: The fact that the outlet is offset means it is possible to arrange the drain so that it is not in the way under floor joists or such objects.
- Enhanced Design Options: These options allow the drain to fit into various layouts without compromising the shower’s design.
- Efficient Water Drainage: It uses a linear design that janks up the water flow so it does not pool and drains quickly.
III. Preparing for Installation

1. Tools and Materials Needed
Before you start, gather the following tools and materials:
- Offset outlet linear shower drain
- Measuring tape
- Marker or pencil
- Saw (for cutting the floor)
- Level
- Waterproofing membrane
- Tile adhesive
- Trowel
- Grout and grout float
- Safety gear (gloves, goggles)
Having these on hand will help to speed up the installation and not bump into any interruptions.
2. Preparing the Shower Area
Start with measuring the drain’s location and marking where to cut the floor to fit that location. With a saw carefully use these marks to cut it, placing the linear drain with an offset outlet.
IV. Installation Guide Stpe by Stpe
Step 1: Marking and Cutting the Floor
Start with measuring the drain’s location and marking where to cut the floor to fit that location. With a saw carefully use these marks to cut it, placing the linear drain with an offset outlet.
Step 2: Setting Up the Drain Base
Put the drain base into the cutout section and line it with the finishing plumbing. Check to make sure the drain is level, any tilt could knock water out of line. If the floor material allows it, secure the base to the floor with adhesive, or screws.
Step 3: Plumbing connecting the Offset Outlet wit
The offset outlet is attached to the plumbing system in a snug fit. It prevents leaks, requiring a watertight connection. You tighten any connectors and make sure your outlet is snugly fastened to plumbing pipes.
Step 4: Applying Waterproofing
Leaky areas of the foundation must be waterproofed to prevent leaking and water damage. A waterproofing membrane is applied over the drain area, and it should fully cover all the area surrounding the floor area. Seal the edges so no wrinkles go in either side of the membrane, and smooth out any wrinkles at all on either side.
Step 5: Installing the Final Flooring
Place tiles or another flooring material around the drain with a clean fit. Thin them down and place them cut and pointed reasonably close to incite efficient drainage. Image 2 of the tile grouting process: Lay the tile adhesive down and fix the tiles, then use grout.
Step 6: Putting the Grate and Finishing Touches
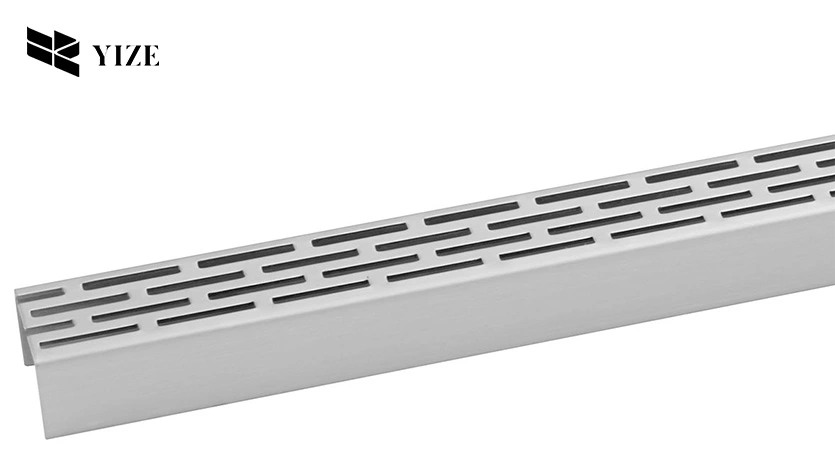
Sit the grate onto the drain, ensuring it sits properly and is locked under. If everything looks fine once you raise the grate, then examine the entire assembly for misalignment, loose tiles or exposed edges. Then clean the area, and be sure everything is secure.
V. Common Installation Challenges and Solutions
1. Dealing with Plumbing Misalignments
Thus, the offset outlet position may not match one or more existing plumbing. This can be solved by using a flexible connection or by a slight reforming of the pipes, in case this occurs. Don’t make these in any way that doesn’t keep a watertight connection.
2. Ensuring Proper Waterproofing
A common mistake in drain installation is the need for more waterproofing. Don’t leave gaps in the waterproofing membrane; even a tiny crack can create leaks. Spread the membrane evenly and seal its edges wherever needed.
3. Realising a Seamless Floor Integration
Using tile around the drain depends on the stone, but for a timeless look, make very exact cuts around the drain. The water has to flow well so that the tiles are properly sloping to the drain. Then, there will be no water pooling and a level to confirm the slope.
VI. Why Choose YZDRAIN for Your Linear Shower Drain Needs?

1. Expertise and Innovation
YZDRAIN is known for its experience and commitment to crafting quality indoor drainage solutions. Thanks to its innovative design and materials, its linear drainage is an excellent choice for modern bathrooms.
2. Quality and Durability
This high-grade, strong material is used to make ZYDRAIN products, which have been designed to be safe from moisture and wear. This high quality control also means that all products undergo great quality control to ensure that they stay and last as long as possible, making them good choices for any bathroom remodel.
VII. Conclusion
Installing a linear shower drain with an offset outlet is an excellent practical selection for bathroom design. Proper alignment, waterproofing, and finishing are some of the carefully followed steps that will make the setup reliable and last longer. YDRAIN offers durable and high-quality drain materials. The full product range can be found at YZDRAIN, so just venture over and see if something s suitable for what you’re trying to achieve with your bathroom project.
Frequently Asked Questions (FAQs)
1. What is the main advantage of a linear shower drain with an offset outlet?
An offset outlet allows you to locate the drain where you need to keep it and avoids problems by fitting any unique layouts or around obstacles.
2. Do I need special tools to install a linear drain with an offset outlet?
Basic tools, such as a saw, measuring tape, trowel, watertight membrane, and specific drain parts for alignment and watertightness, are required.
3. How can I ensure my linear drain installation is watertight?
The last essential step to preventing leaks and keeping the seal watertight is to make sure the waterproof membrane around the drain and all connections are secure.
