Introduction
Having trouble installing a square shower drain? If not installed correctly, you may find yourself with water buildup, slow draining, or even leakage. That’s a hassle, right? Worry not because you’re on the right website.
This guide will walk you through each step of the process step by step and in simple, straightforward manner. You will learn what a square shower drain is, what things you will need, and step by step how to install one.
Whether you’re a DIY expert or a beginner, we will have you finished with confidence. Your shower will drain freely, and you’ll have nothing to worry about as far as water is concerned.
So, let’s get started.
Part 1. Understanding Square Shower Drains
Square shower drains are a favorite among modern bathrooms due to their stylish aesthetic and efficient drainage. Unlike rounded drains, square drains are easier to line up with shower tiles, which makes for a smoother installation and a clean, unbroken appearance for your shower.
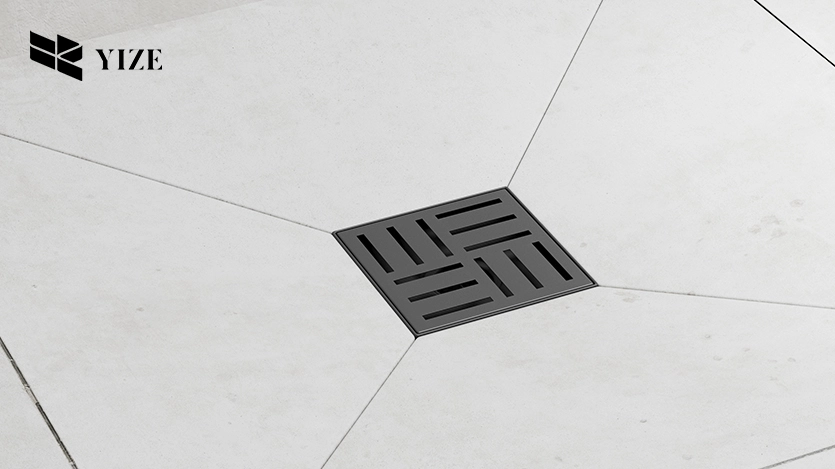
Why Choose a Square Shower Drain?
- Improved Tile Fit: The square design fits into tiles with ease, minimizing awkward cuts.
- Modern appearance: It gives a modern and fashionable look, enhancing bathroom aesthetics.
- Effective Water Flow: Constructed with a high capacity for effective handling, preventing pooling.
- Easy Maintenance: Most square drains have a removable cover, making cleaning simple.
Before you start the installation process, you should choose a drain that will fit your shower floor type and your water flow needs.
Now, let’s look at what you’ll need to install it.
Part 2. Essentials to Install a Square Shower Drain
Before you install your square shower drain, having all your tools and materials ready will make installation much easier. These are what you will need:
Tools and Materials Required
- Square Shower Drain Kit: Includes drain body, cover, and all the associated fittings.
- Measuring Tape: Ensures proper placement of the drain.
- Marker or Chalk: To mark the drain location.
- Tile Cutter or Saw: To trim if needed to fit drain.
- Screwdriver/Wrench: For securing drain components
- Plumber’s Putty or Silicone Sealant: It helps create a watertight seal.
- ABS or PVC Cement: When coupling a plastic pipe system.
- Level: Gives the proper slope for water drainage.
Pre-Installation Checklist
- Check your shower floor’s slope—water will drain on its own toward the drain.
- Ensure your plumbing pipes have the same drain diameter and material (PVC, ABS, or metal).
- Double-check all components in the drain kit before proceeding.
With all your materials in hand, it’s now time to move forward with the actual process of installation.
Part 3. How to Install a Square Shower Drain?
Now that you have your materials and tools, let’s go step by step on how to install your square shower drain.
Step 1: Clean out the Drain Opening
Before you install the drain, make sure your shower floor is sloped correctly so that the water will drain toward where you will put the drain. Use a measuring tape and mark with a marker where you will install the drain. It should fit tightly into the opening.
If your shower stall does not have a drain hole, you will have to create one. You will have to carefully make a hole with a tile cutter or a tile saw. It should not be too large, but just large enough for the drain. Excess space will create leaks and movement.
Step 2: Fit the Drain onto the Pipe
Now, place the square shower drain over the opening and determine if it fits properly. It will prevent you from making a mistake before securing it into place.
For PVC or ABS piping, apply PVC or ABS cement onto the interior of the drain and pipe. Press the drain firmly onto the pipe for a solid connection. For plumbing with metal pipes, a threaded adapter may be used to connect the drain. Make sure that the drain is tightened securely and straight.
Step 3: Caulk around the Drain Base
To prevent leaks, you have to seal the drain properly. Put a thin layer of plumber’s putty or silicone sealant around the edges of the drain base. It is a very important step because it keeps water from getting underneath the drain and doing any damage.
Once you have applied the sealant, install the drain. Some drains have screws or locknuts—tighten as needed. Wipe off any excess sealant with a damp cloth for a clean finish.
Step 4: Inspect for Drainage on the Slope
A properly fitted shower drain will have to be slightly below the level of the surrounding tiles. Water will flow into the drain with ease. Use a level to ensure your shower floor is at the correct slope.
If the drain is set too high, water will not drain but will gather around it. If set too low, it will produce a non-level surface. Level out the drain if needed before moving on to the final step.
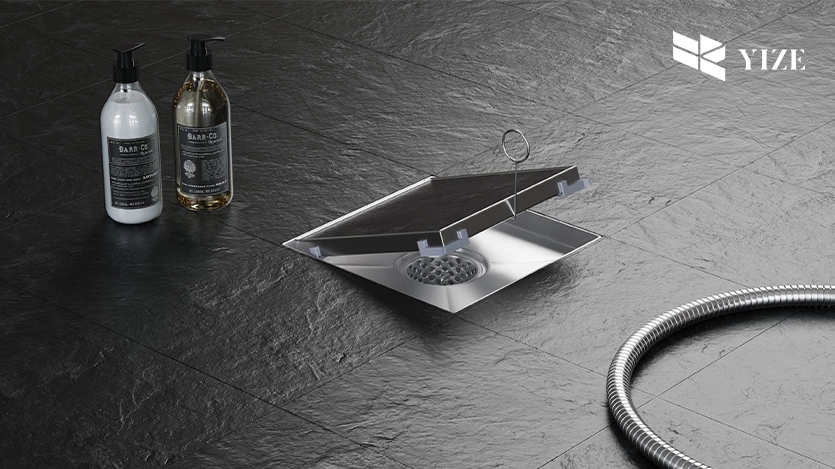
Step 5: Install the Drain Cover
Now, let’s place the square drain cover. Some covers snap on, but some must be screwed into position. Use the manufacturer’s guidance for properly securing it.
This cover keeps dirt and grime out of your drain and gives your shower a modern, stylish look. Choose a style that will best suit your bathroom.
Step 6: Leaks and Drainage Testing
The last step is a test to make sure everything is okay. Put some water into the shower and see how it drains. The water will drain freely into the drain and not create pools.
If possible, look below the shower for any leaks where the drain intersects with the pipe. If you find any leaking, tighten connections or apply extra sealant.
Once you have double-checked all connections are tightened, your installation is complete!
Part 4. Looking for a Quality Square Shower Drain? YZDRAIN is at Your Service
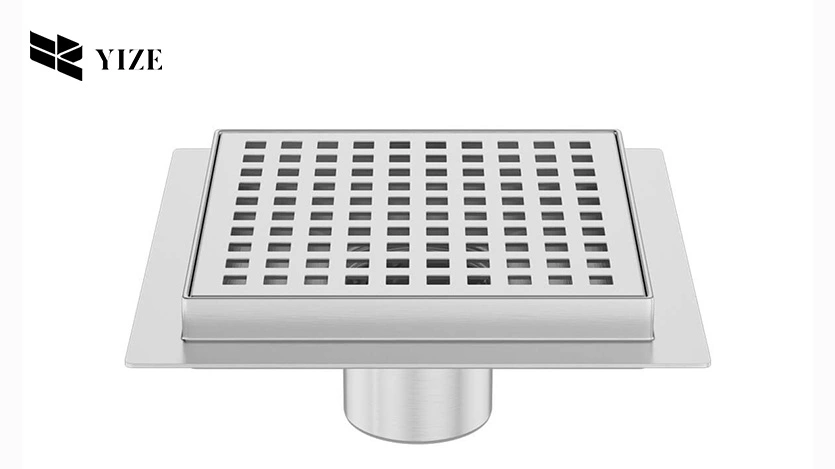
If you need a strong, elegant, and easy-to-use square shower drain, YZDRAIN offers exactly what you need. Our square shower drains are made from top-quality stainless steel, and as such, they don’t rust and are durable.
YZDRAIN’s shower drains are available in a number of different sizes including 4″, 6″, and 8″, and you can pick one that fits your shower. They have a contemporary style that will match any bathroom and give a clean, classy look.
These drains possess a high flow rate, meaning that water drains quickly and does not form puddles. The cover is also removable, making cleaning easy, and keeping your shower clean.
For a stylish and reliable square shower drain, turn your attention to YZDRAIN today!
Part 5. Conclusion
Installing a square shower drain is a straightforward process if you do it step by step. With careful preparation, secure connections, and a good seal, you can ensure efficient drainage and leak protection. With a well-installed drain, your shower will remain functional and in great condition for a long time.