i. Introduction
With the adjustable linear shower drain, it’s possible to keep your bathroom clean and running all the time. This type of drain enhances the appearance of your bathroom shower drain and is more adaptable than the fixed ones. This guide will show you how to rightly install and maintain your adjustable linear shower drain for optimal use in your bathroom.
iI. Understanding Adjustable Linear Shower Drains
Modern shower drainage systems that are adjustable linear shower drainage systems are flexible and easy to install. It is important to note that linear drains are usually installed at the location of the showerhead or at the entrance while point drains are installed at the middle of the shower floor.
iII. Key Features
●These types of drains come in longer lengths, meaning that you can adjust it to the size of your shower.
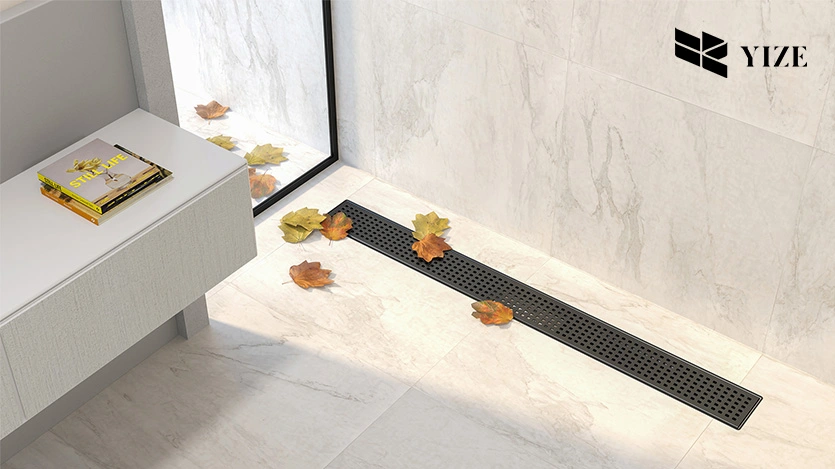
●It is linear in look; they probably offer bathroom designs that are sophisticated and contemporary.
●It’s water friendly and engineered in a manner to avoid formation of water puddles on shower floors.
IV. What are the Benefits of an Adjustable Linear Shower Drain Over a Fixed One?
Corner linear shower drains are more preferred than fixed shower drains.
●Placement Flexibility: A drain can be installed along the shower wall or in the center of it. This flexibility will allow you to plan your showers, based on what is more important to you.
●Customizable Length: Linear drains vary in size to accommodate the size of the showering area and are not like the fixed drains that are limited by size. This helps in achieving good fit of the shower floor besides adding efficiency in décor.
●Centralized Drain Option: It is flexible in placement as it can be fixed in any position so that water can drain uniformly in all directions.
V. How to Install an Adjustable Linear Shower Drain:The most comprehensive guide

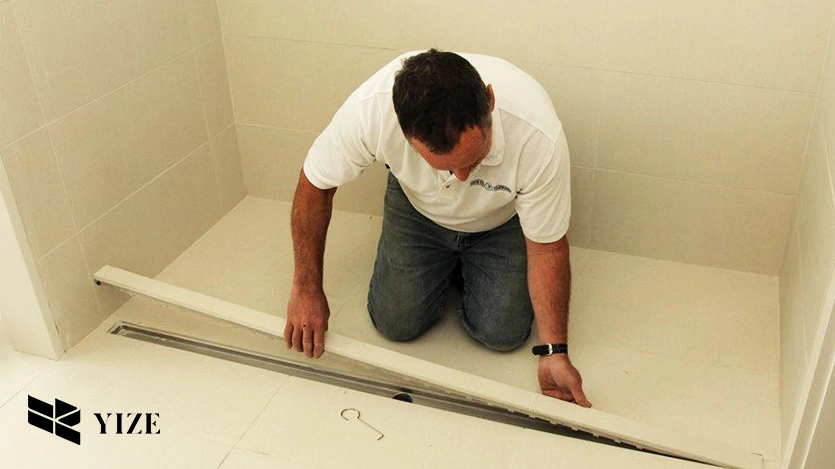
While anchoring an adjustable linear shower drain may appear complicated, the points mentioned above should make your DIY effort look like a professional one.
1.Check Floor Levelness and TCNA Standards: First, make certain that the shower floor is level and installed in accordance with the TCNA specifications. Water should not pool on the surface but should flow on the surface in a proper manner.
2.Measure, Mark Dimensions: Quantify the location where the drain is required to be installed. Takes measurements of the shower floor positions as a tool for installing the shower floors effectively and to proper measurements.
3.Cut Drain Support Frame: Measure and saw cut the drain support frame into the required dimensions with the correct type of saw. It provides support to the drain; therefore, screws must be placed in the correct direction.
4.Remove Dry Fit Panels Simulation: Install the drain and the support frame into the shower floor and leave for few days. When they are done, move them to other parts to fix other parts of the screen.
5.Quick Slope Panels: They are used to form a slope with quick slope panels across the area. These panels tilt the water to the drainage system that has numerous drains.
6.Secure Curb: Ensure that the shower curb is fixed to minimize flow of water away from the stall.
7.Clamping Collar: The drain clamping collar at the upper end must also be detached. This collar will be used later to fix the waterproofing membrane at the spigot.
8.Solvent Cement Coupling into Drain Body: They shut it tightly in order to avoid water penetrate through it.
9.Measure, Mark, and Cut Sheet Waterproofing: Prepare a waterproofing sheet and trim it to fit the dimensions of the shower floor and walls. Cut it to the size required for use, but leave a little margin around it in case it is needed to be trimmed some more.
10.Measure and Mark Corners: Proper marking also guarantees that in the process of constructing the form no sides are left hanging.
11.Begin to Install Waterproofing by Applying Thinset Over Panels: There should be a poor interchange between the waterproofing sheet and the thinset which needs to be placed to avoid having air pockets.
12.Remove Tape and Apply Sealant to Flange: Tear off the cover tape for the drain flange and apply a thick coat of sealant to the exposed area. It means this sealant prevents water from entering the drains.
13.Insert Clamping Collar: Again align the clamping collar over the waterproofing sheet then fasten the nuts. This step checks waterproofing to make sure of drain seal.
14.Thinset Side Walls and Install Sheet Membrane: Proceed with thinsetting of the shower walls and apply the waterproofing membrane which laps over the floor membrane.
15.Start with back-inside corners: Begin the process by placing two membrane pieces that have been precut and placed at the two inside rear corners. This will make sure that areas of high risk are covered.
16.Install Front Inside Corners: Following that, trim the wall and floor membrane and adhere the membrane pieces in the inside front corners.
17.Install Outside Corner Curb Covers: Use thin set on the edge of the curbs and tighten the membrane covers to prevent penetration of water.
18.Cut Trough Extensions: Loosen the extensions with the help of a hacksaw to fit them to the drain channel and the required length.
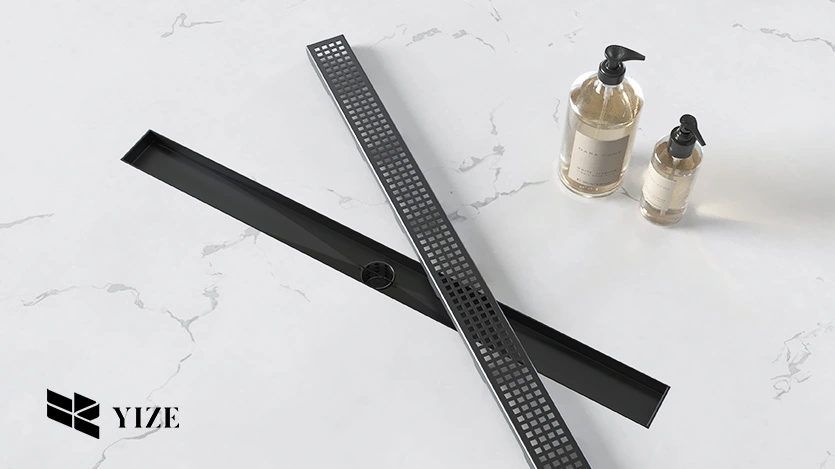
Install Trough Extensions and Channel Covers on Top of the Troughs: These covers enable water to pass through while at the same time the drains are protected from accumulation of debris.
VI. How to Clean Your Adjustable Linear Shower Drain?
It is recommended that the adjustable linear shower drain be regularly cleaned to avoid clogging of the drain and water not flowing freely.
●Unscrew the Drain Grate or Trim: To get rid of soap scum and other deposits, scrub with a moderate concentration of soap and a soft bristle brush. Clean as often as necessary, always ensuring that they are being cleaned with water and then left to dry before replacement.
●Remove the Drain Cover: Avoid scrubbing the channel; instead, take the time to carefully lift the cover to clean it. This enables one to scrub the drain base and void any hidden particles that may have been left behind.
●Cleaning Channel or Built-in Set: To clean the channel you just have to scrub it with help of brush or cloth to wipe the dust and dirt. They also advocated for the use of vinegar and baking soda in areas with persisted stains. Rinse the channel thoroughly and ensure it is dried before placing the cover to seal the system.
Clean Frequently: It is advised to clean your drain on monthly basis or following the usage of shower to maintain its cleanliness.
VII. Troubleshooting Common Issues

Even with regular maintenance, your adjustable linear shower drain may have minor issues:Although your adjustable linear shower drain is designed and installed to function properly, it may develop minor problems despite proper maintenance:
●Minor Clogs and Slow Drainage: If the water is not draining as fast as usual, seek for the foreign substances. This should be solved easily by removing the drain cover and cleaning the channel with the right solution. If this is not effective, then a plumber’s snake can be used to unclog the drain.
●When to Get Professional Help: However, if cleaning cannot solve the problem or there are other complications like water issues like leaking, then call a plumber to have the drain checked.
VIII. Why Choose YZDRAIN’s Adjustable Linear Shower Drains?
The manufacturer YZDRAIN is a well-known adjustable linear shower drain. YZDRAIN is an industry expert in the production of the best long-lasting shower drains to suit modern showers. Their products are durable, and they can be easily installed on various types of equipment. YZDRAIN drains are lightweight and can easily be installed to be served and to be maintained.
These are stretchable in size and one can fit them at each shower area. Customers described YZDRAIN products as stable and elegant. A few of the more frequently repeated remarks include easy installation and efficiency in the water flow drain.
IX. Conclusion
As a homeowner, you must clean and maintain your adjustable linear shower drain, which is essential to bathroom functionality. You can avoid bathtub clogging and slow draining by installing and cleaning it properly. You should buy a drain from YZDRAIN because it’s durable and easy to use.
FAQs
1. How often should I clean my adjustable linear shower drain?
A monthly drain cleaning is recommended for frequently used showers.
2. Can I install an adjustable linear shower drain myself?
Yes, you can install the drain with the right tools and instructions. If you’re still unsure, consult a professional.
3. What to do if there is blockage in my drain?
Remove drain cover and clean route. If the clog persists, use a plumber’s snake or call a professional.
