I. Introduction
It would be best to keep your shower drain clean to avoid blockage and any issues with the drainage system. Learning the methods of removing a shower drain is important when working on activities such as cleaning, repair or replacement. Some of the reasons that might require somebody to uninstall the shower drain may include blockage of the drain, leaking or even if the current drain is inefficient and needs replacement with a better one.
II. How to Undo a Shower Drain?
It is crucial to determine the type of shower drain you are dealing with before proceeding to repair or replacement. There are various types of shower drains, including:
- Screw-In Shower Drains: These are secured on the drain cover through the use of screws.
- Snap-In Shower Drains: They have cover parts that fit into the body of the drain and are not put on with screws.
- Compression Shower Drains: These are normally included in fiberglass or acrylic shower bases and they are secured in position by a compression ring.
- Tile-In Shower Drains: These are incorporated with tiles in the floors and are usually concealed under the tiles and may need to be pulled out.
What Type of Drain Do You Have and Undo Steps?
(1) Screw-In Shower Drains
Tools Needed: Screwdriver, pliers
Here are the steps:
- You have to unscrew the screws that fasten the drain cover with a screwdriver.
- Remove the drain cover from its location.
- Loosen it by turning the drain body with pliers counterclockwise to detach it from the pipe.
(2)Snap-In Shower Drains
Tools Needed: Flathead screwdriver and pliers
Here are the steps:
- Insert a flathead screwdriver between the end of the drain cover and the top of the drain body.
- Lift the cover slowly so as not to spoil its condition, if there is a cover at all.
- After that, you should use pliers to put your grip on the drain body and then pull it out.
(3)Compression Shower Drains
Tools Needed: Pliers, adjustable wrench
Here are the steps:
- Remove the drain cover.
- Identify the location of the compression ring within the drain body as illustrated in the figure above.
- Lastly, use pliers to remove the compression ring by unscrewing it as a normal ring.
- Remove the drain body out of the shower base.
(4)Tile-In Shower Drains
Tools Needed: Utility knife, chisel, hammer, pliers
Here are the steps:
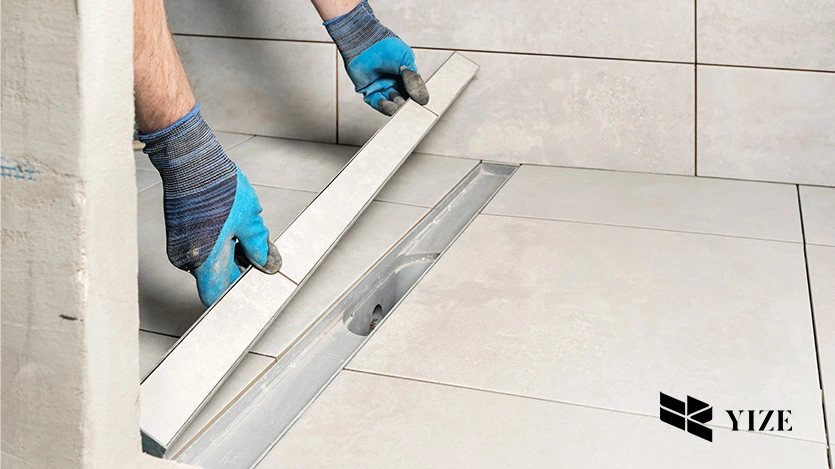
- Using the utility knife and chisel, continue the removal of the tiles around the damaged area cautiously.
- Find where the screws are that hold the drain or any locking mechanism that is used to fix the drain in this area.
- Open it – undo the screws or flip a switch which unlocks it.
- To remove the drain body, one must use pliers to pull out the drain body out.
III. Why Bathtub Drain Won’t Unscrew?

Here are the common reasons why a bathtub drain might not unscrew:
- Corrosion: Eventually, metal drains may degrade and clog while in use.
- Mineral Deposits: It also leaves hard water mineral deposits that stick on the inner surface of the drain pipe.
- Incorrect Installation: It’s possible that the drain was over tightened when installing it.
- Debris Build-Up: Clogs are another factor, which can hinder the turning of the drain.
1. Equipment Required to Handle a Reluctant Drain
- Pliers
- Adjustable wrench
- Key for drain or removal tool for drain
- Penetrating oil
2. Step-by-Step Troubleshooting Guide
- Apply Penetrating Oil: Squirt the penetrating oil underneath the drain body and allow it to work for 3-5 minutes to dissolve any corrosion or deposits.
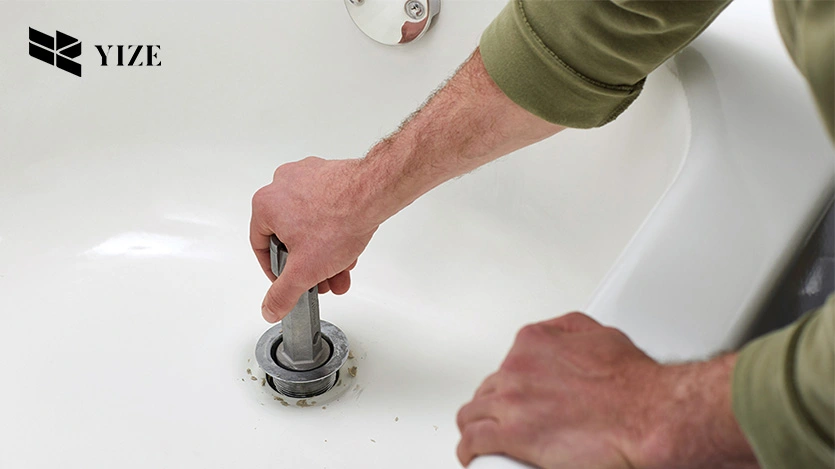
- Use a Drain Key: Insert a drain key or a drain removal tool into the drain. Twist it in the clockwise direction to screw the drain and turn the other way to unscrew it. They should always be used under steady force without forcing the implement to minimize their destruction.
- Heat Application: If the drain will not move at all, one must use the hair dryer to warm the area around the drain. The expansion from the heat can further aid in clearing the clog in the drain.
- Tap Gently: Hold a hammer and tap around the drain body to remove the remaining portion to which they are clinging tightly.
- Repeat: Continue the process if required, using more penetration oil and continuing with more heat.
IV. How to Remove a Shower Drain Without Screws?
There are models of shower drains that do not use screws or other fasteners to secure them to the floor; they rely on friction or compression, for instance.
1. Tools and Materials Needed
- Flathead screwdriver
- Pliers
- Adjustable wrench
- Utility knife
2. Removal Instructions
(1)Inspect the Drain
- Determine whether they employ a snap-in or compression type of drain.
(2)Snap-In Drains
- Place the flathead screwdriver in the seam between the drain cover and the drain body.
- Lift the cover up with your fingers to have it released from the pot.
- Cautiously take out the drain body using pliers so as not to dislodge the filter screen.
(3)Compression Drains
- Remove the drain cover.
- Find for the compression ring within the huge structure that is the drain body.
- Remove the compression ring by twisting it anticlockwise using the pliers.
- After that, remove the drain body from the shower base.
V. Additional Tips for a Successful Shower Drain Removal

Here are some techniques for avoiding common pitfalls:
- Protect Tiles: When sawing or chiseling near tiles, it is advisable to use a thin piece of wood because it shields the tile surface.
- Avoid Over-Forcing: It is also possible to apply excessive force that can lead to cracking of tiles or damaging the plumbing systems. undefined
- Use the Right Tools: It becomes easier to do a job and the equipment being used will not be damaged while doing the work.
1. Cleaning and Preparing the Area for a New Drain Installation
- Clean the Drain Area: Clean up the drain area and make sure that there is no debris, old caulk or dirt in the area before you begin.
- Inspect Plumbing: Look for any problems with the plumbing and make sure it is properly fixed if there are any issues with the pipes or fixtures.
- Apply New Caulk: When introducing a new drain, use plumber’s caulk around the opening to create a watertight finish.
2. Recommendations for Properly Disposing of the Old Drain
- Recycle: Should the drain be metallic in nature, you might consider donating the metal to a scrap dealer.
- Dispose Responsibly: If recycling is not possible, get rid of the drain by following the local environmental laws of the place.
VI. Why Choose YZDRAIN as a Replacement Shower Drain?

YZDRAIN has a range of high-quality shower drains intended for lifetime sturdiness and hassle-free installation. Following are some benefits of upgrading to YZDRAIN products:
- Durability: Constructed from special metals that do not suffer degradation or wear and tear easily.
- Easy Installation: Easy to install and comes with a very detailed guide on how the installation process is to be done.
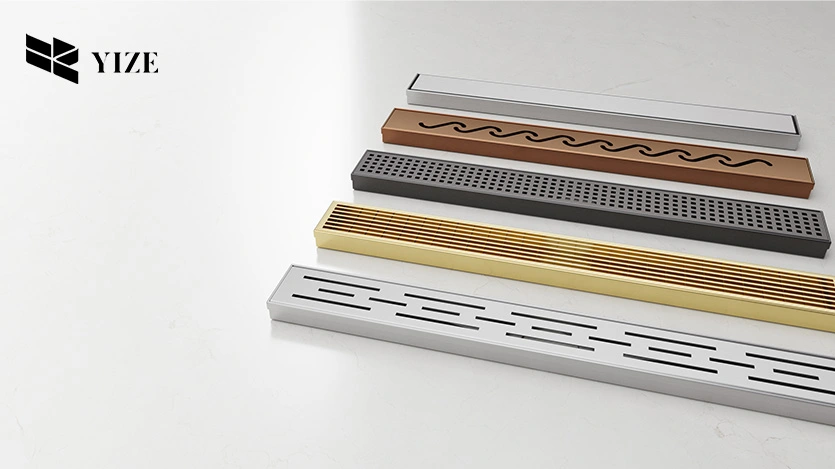
- Modern Design: It comes in various designs to fit any bathroom style that someone may want.
- Reliable Performance: Proper drainage to avoid blockages and lint accumulation.
VII. Conclusion
It is very important to understand how to remove the drain in the shower, as this knowledge will be useful for the bathroom repair. When done right, it is an easy process that should not cause harm or create undue stress on the system. If you loved the YZ shower drainage system then you should consider using YZDRAIN for better and efficient shower drains. Take the time to get acquainted with the products that are offered by YZDRAIN so that you may be able to know which one is most suitable for your needs.
Frequently Asked Questions (FAQs)
1. How frequently should I clean my shower drain?
Experts suggest that cleaning the shower drain should be a monthly task to ensure that the shower is draining efficiently.
2. Is it possible to uninstall a shower drain without the help of a professional or specialist?
PVC shower drains can be removed in many cases without much trouble. If it is complicated or you suspect the equipment can cause harm, then it is advisable to seek the help of an expert.
3. What should I do if my shower drain is still clogged even after you have removed the obstruction?
In case the clog remains, one can try to remove it using a plumbing snake or seek the assistance of a professional plumber.
